There will be no food photos, look-at-this-sunset photos, or archaeology photos in this post. (Apologies if any of those are your thing.) Around here lately it’s all construction, all the time.
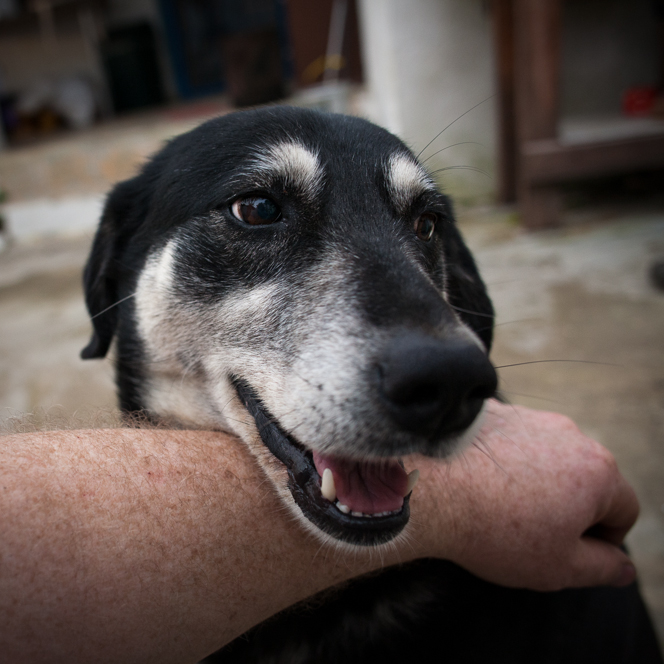
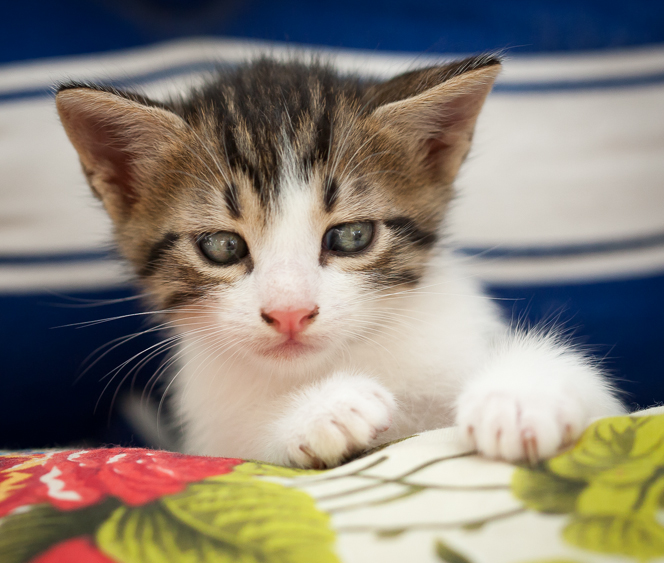
There will of course be some cat and dog photos. I am not a monster.
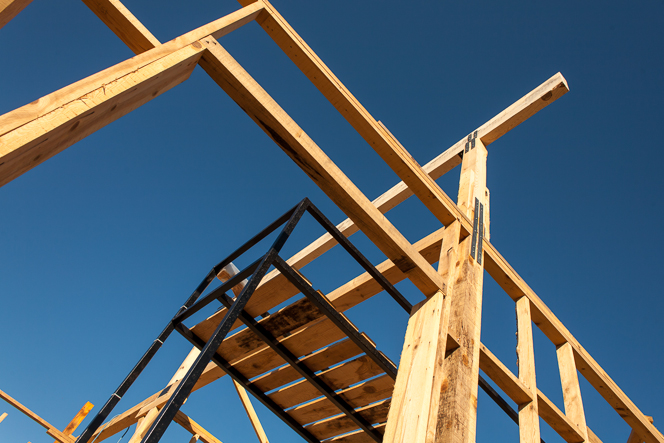
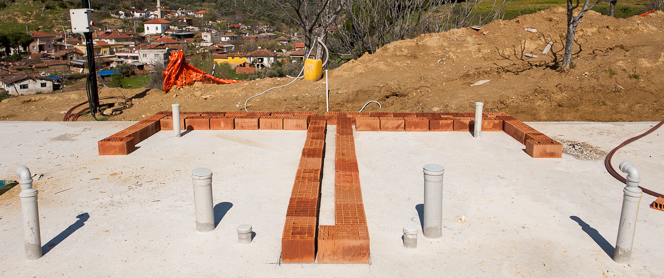
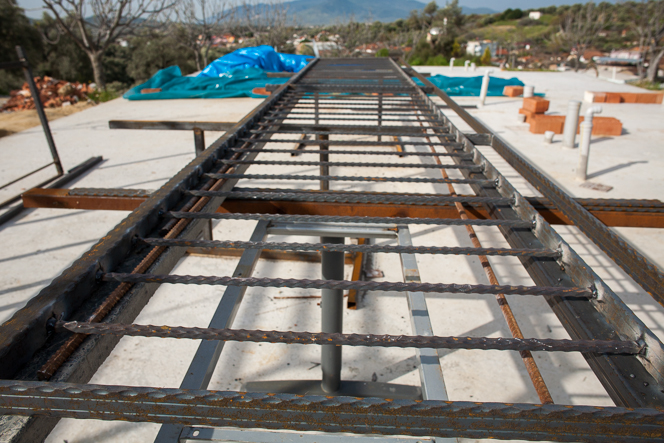
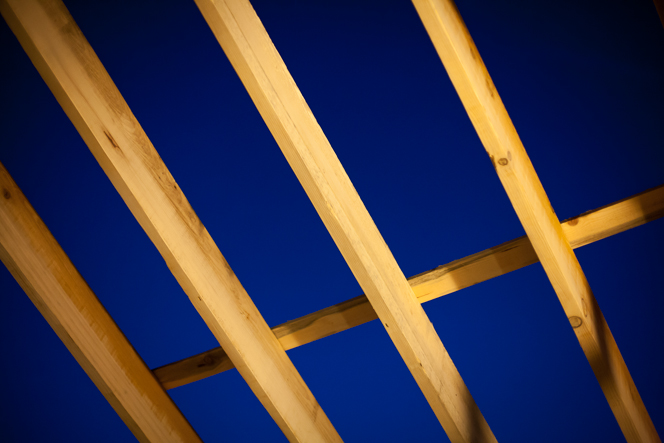
One section of the main beam in place
Previously we showed you the central spine of the building: a series of beams, sitting up on columns, that help to hold up the roof. These beams and posts were only half the story though. Another series of even bigger beams has to go up on top of the first one in order to form the ridge of the roof. The longest section is about 5.5 metres long, and getting all that wood up there was probably the toughest and scariest job we’ve done so far.
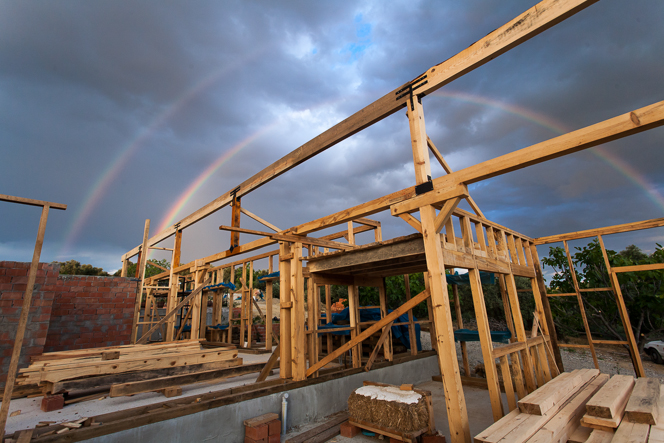
Main beam complete, plus a rare summer storm with rainbows
In the second photo you can see how the ridge beam looked once it was secured in place. You can also see that we get the occasional dramatic summer storm.
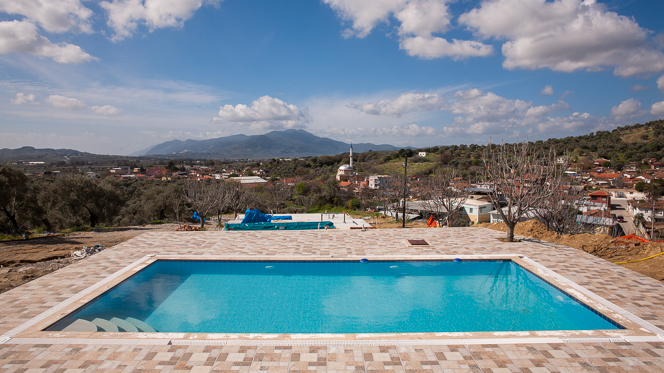
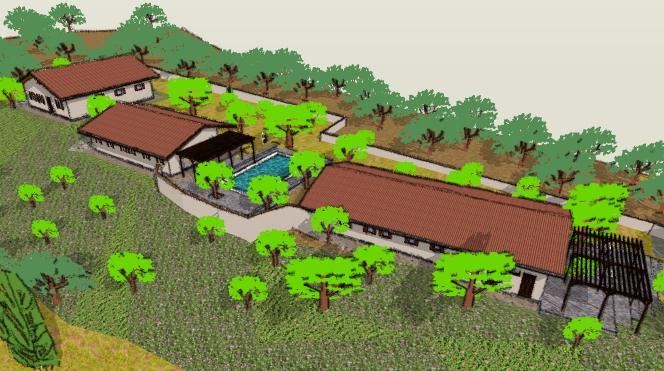
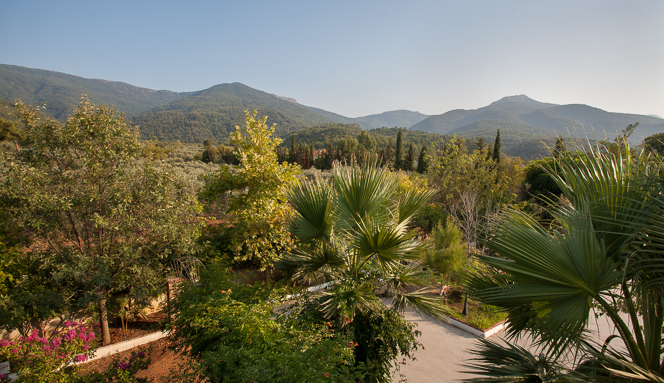
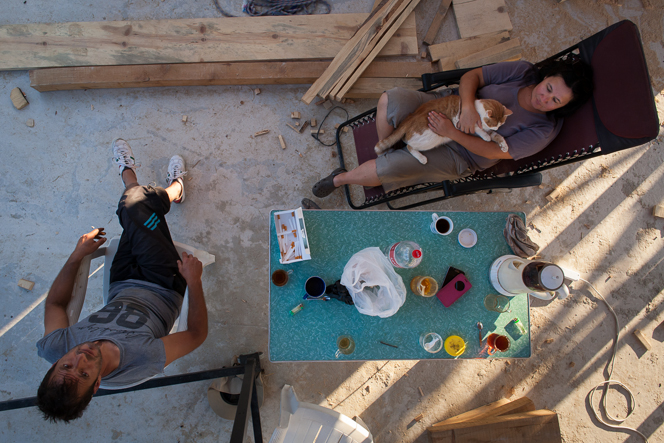
And from another angle it’s clear how close the building is to the pool. We’re hoping that will turn out to be a good thing as the roof itself, with its wide eaves, will provide some much-needed shade on the pool terrace in the late afternoons.
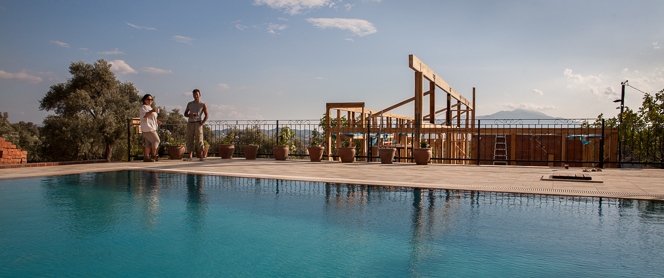
Sirem and Koray taking a break by the pool; ridge beam in the background
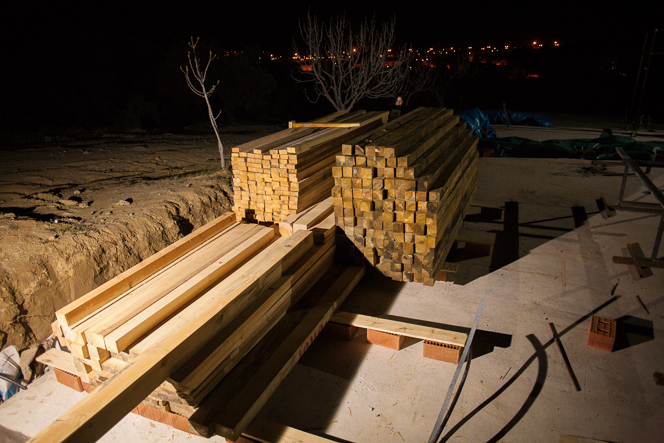
With the ridge beam up we were ready to start work on the roof, which meant a final big timber delivery. Here’s a stack of six-metre planks ready to be used as rafters.
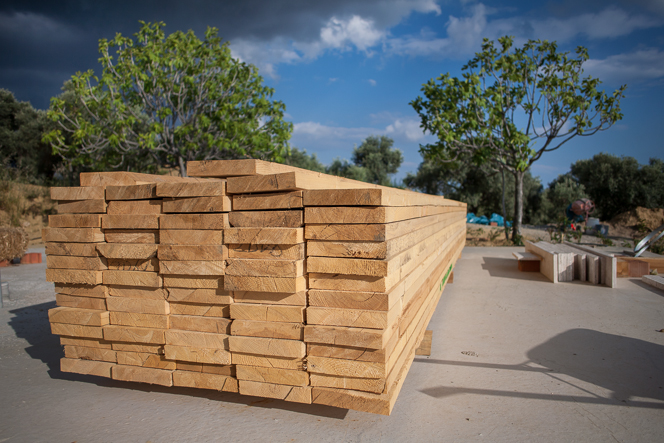
Rafters delivered
The rafters need diagonal cuts on each end to get them to the right length, plus a “bird’s mouth” cut to make sure they sit nicely on the top rail of the wall framing. We’ve also been sanding the bits that are going to remain visible once the insulation and the ceiling panels go in — it would be a shame to hide all that nice wood behind a plain white ceiling.
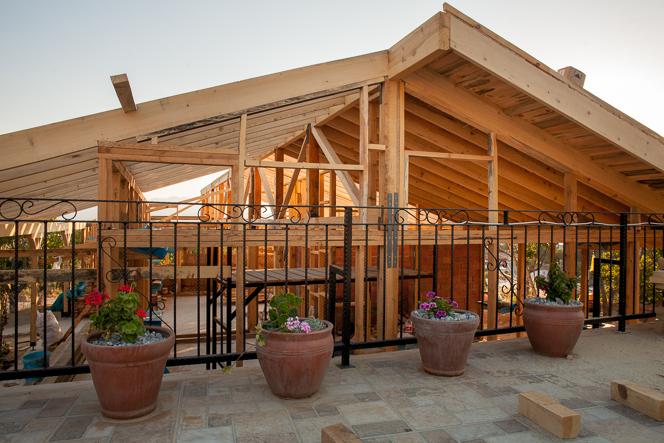
Evening shot of the first few rafters installed

The roof structure starting to take shape

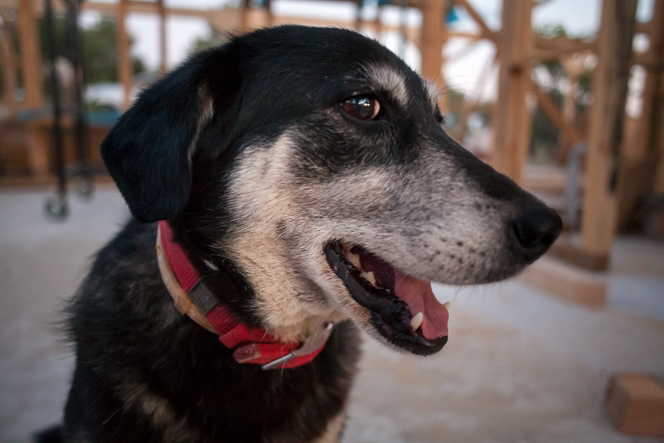
Of course Cezmi went up on the roof to inspect it
The roof isn’t finished yet, but it’s already made a big difference to the site. Even a partial roof provides a lot of shade and the rising summer temperatures are easier to bear now we can get out of the sun. The cats and dogs have noticed this too and are hanging around even more than usual.
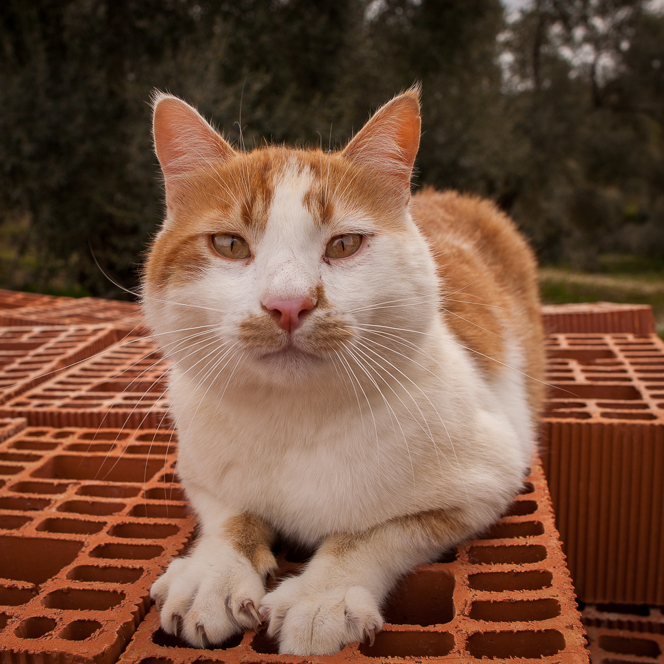
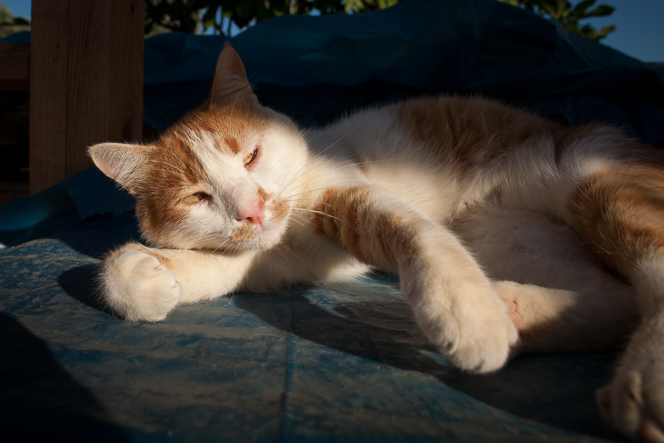
Zeytin is always helpful
Cezmi takes a break from his supervisory role
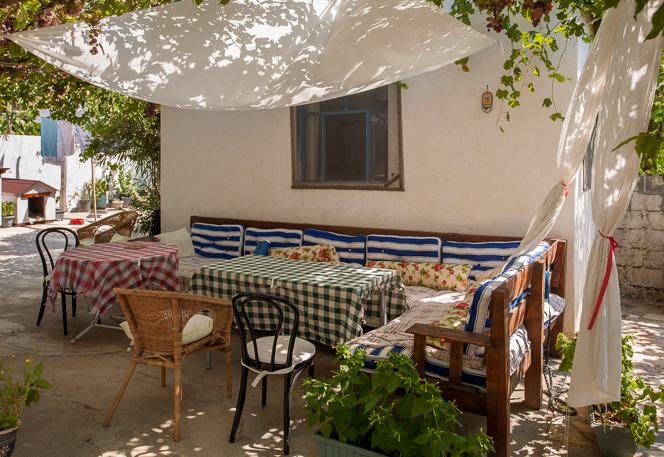
Tea breaks are much more pleasant in the shade
It’s harvest time for wheat farmers in the area, so we’ve been buying straw bales while they’re cheap. So far we’re paying 9 lira, or about £2.15 per bale, delivered. (Apparently if you leave it too late in the year, the price goes up quite a lot.) The first batch was 80 bales that came up on the back of a tractor trailer, but we’re going to need about 500 in total for the building. And another 500 later for buildings two and three, but that’s a future problem.
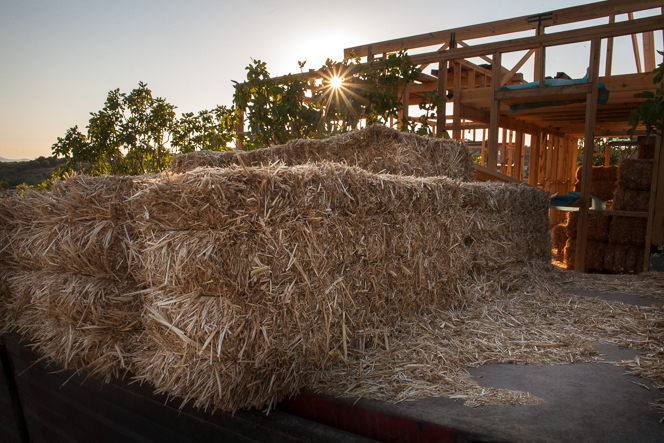
Straw bales arriving
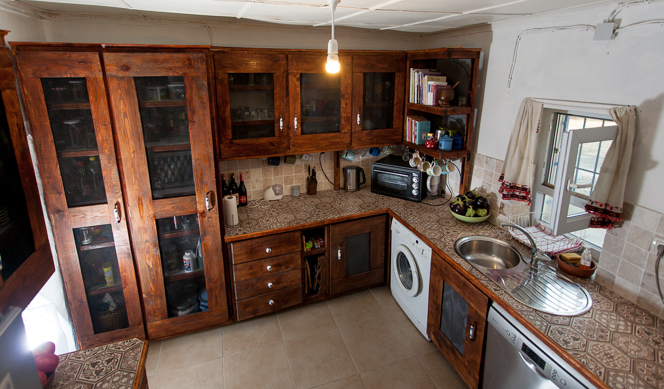
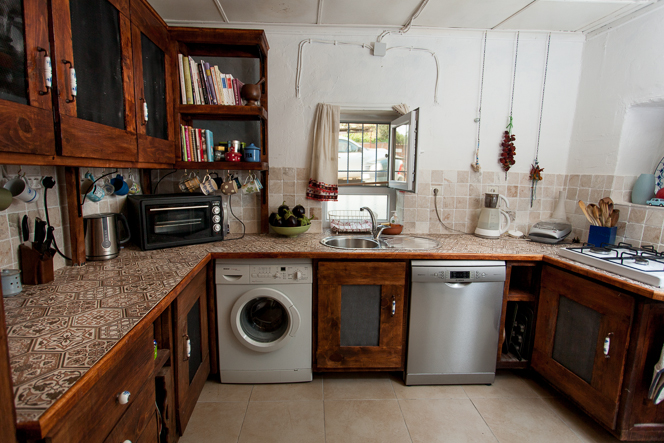
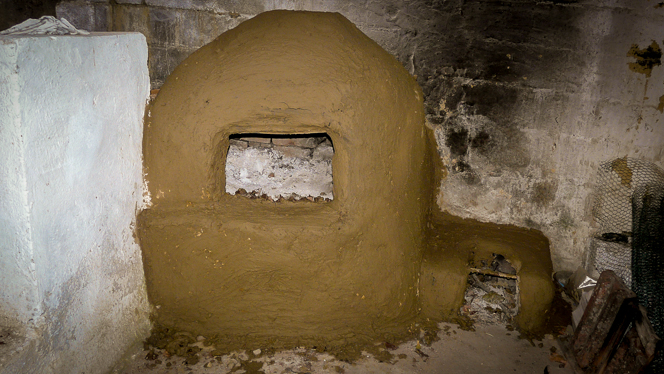
For now we’re storing the bales in what will one day be the cafe kitchen. You can see some ceiling joists in the top of the shot, as the kitchen will have a little storage loft above it.
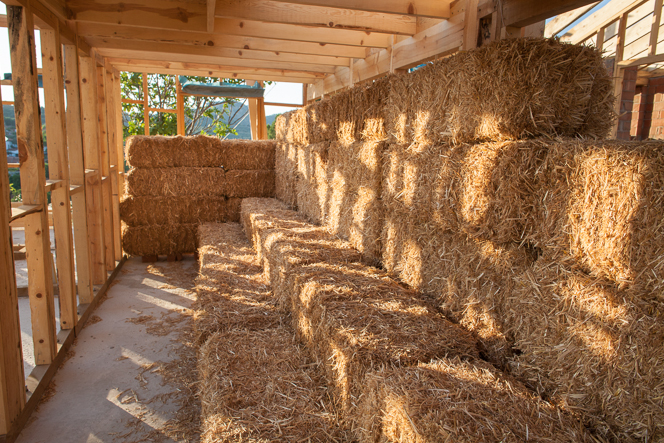
Straw bales stored in the kitchen
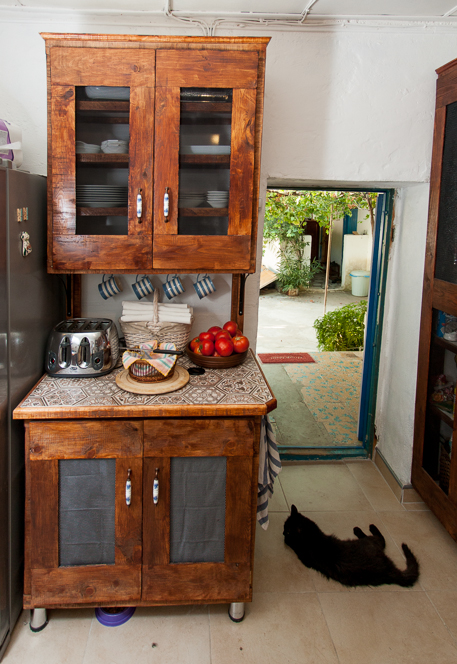
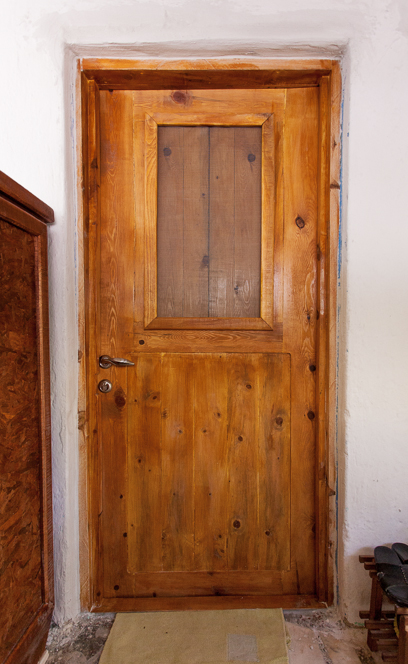
Here’s a view from inside the cafe area, looking over at the doorway to the kitchen. Those two interior window structures on the right will eventually become the bar (a very important feature).
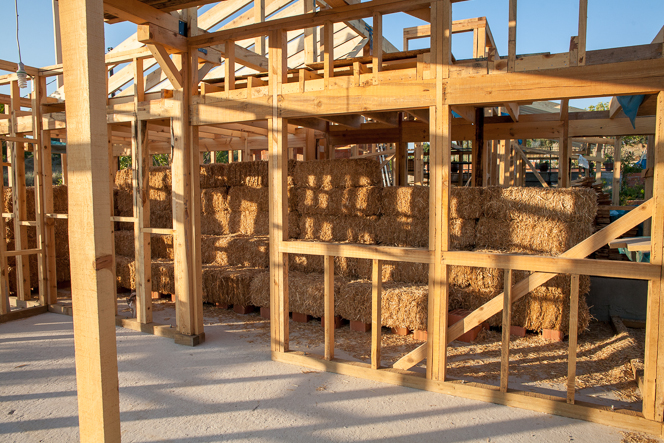
Looking across at the bales via the kitchen door and the bar
Sookie, mother of kittens, has taken to disappearing on mysterious multi-day journeys now that the weather is warm. She decided that sleeping on straw bales was a good enough reason to come home though. It’s always a relief to see her back safely.
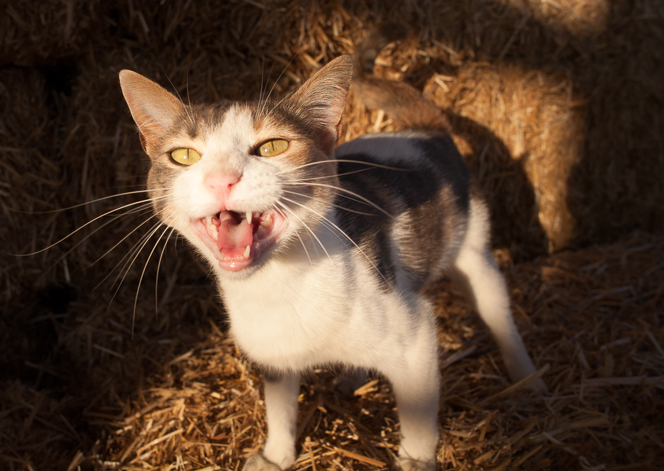
Sookie returns
We decided on old-school wooden planks over OSB or plywood for the roof. One reason is that real wood will hold up better if there is ever a leak. Another is that sections like the verandah roof and under the eaves (where there won’t be any insulation or ceiling panels) will look a lot nicer in real wood. And the cost worked out about the same as OSB anyway.
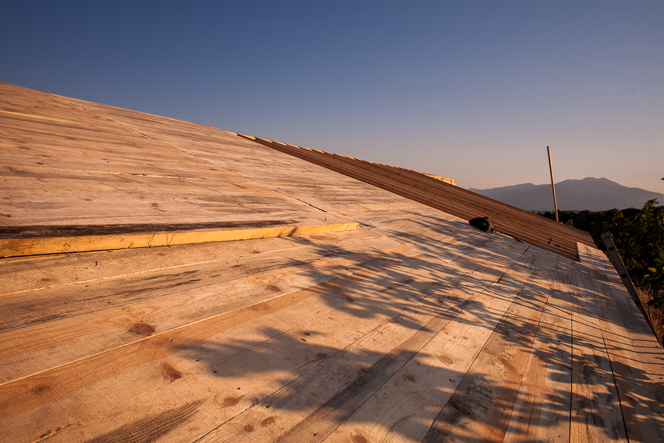
Roof planks going on
Another view from the pool area
After all the rafters and planks are up, the next steps are gutters, waterproof membrane, and ceramic tiles, in that order. Then we can get to the fun part of stacking those straw bale walls.